개발환경
- MacOS 10.14
- Visual Studio Code
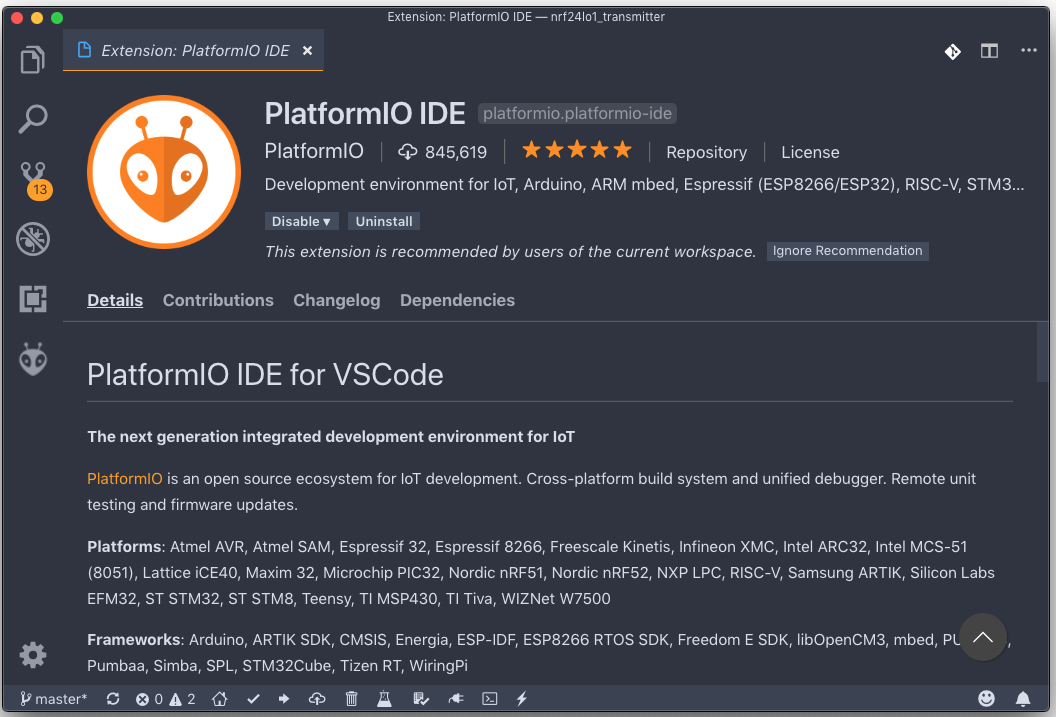
- Platform IO Extension for VSCode
- RadioHead Library
준비물
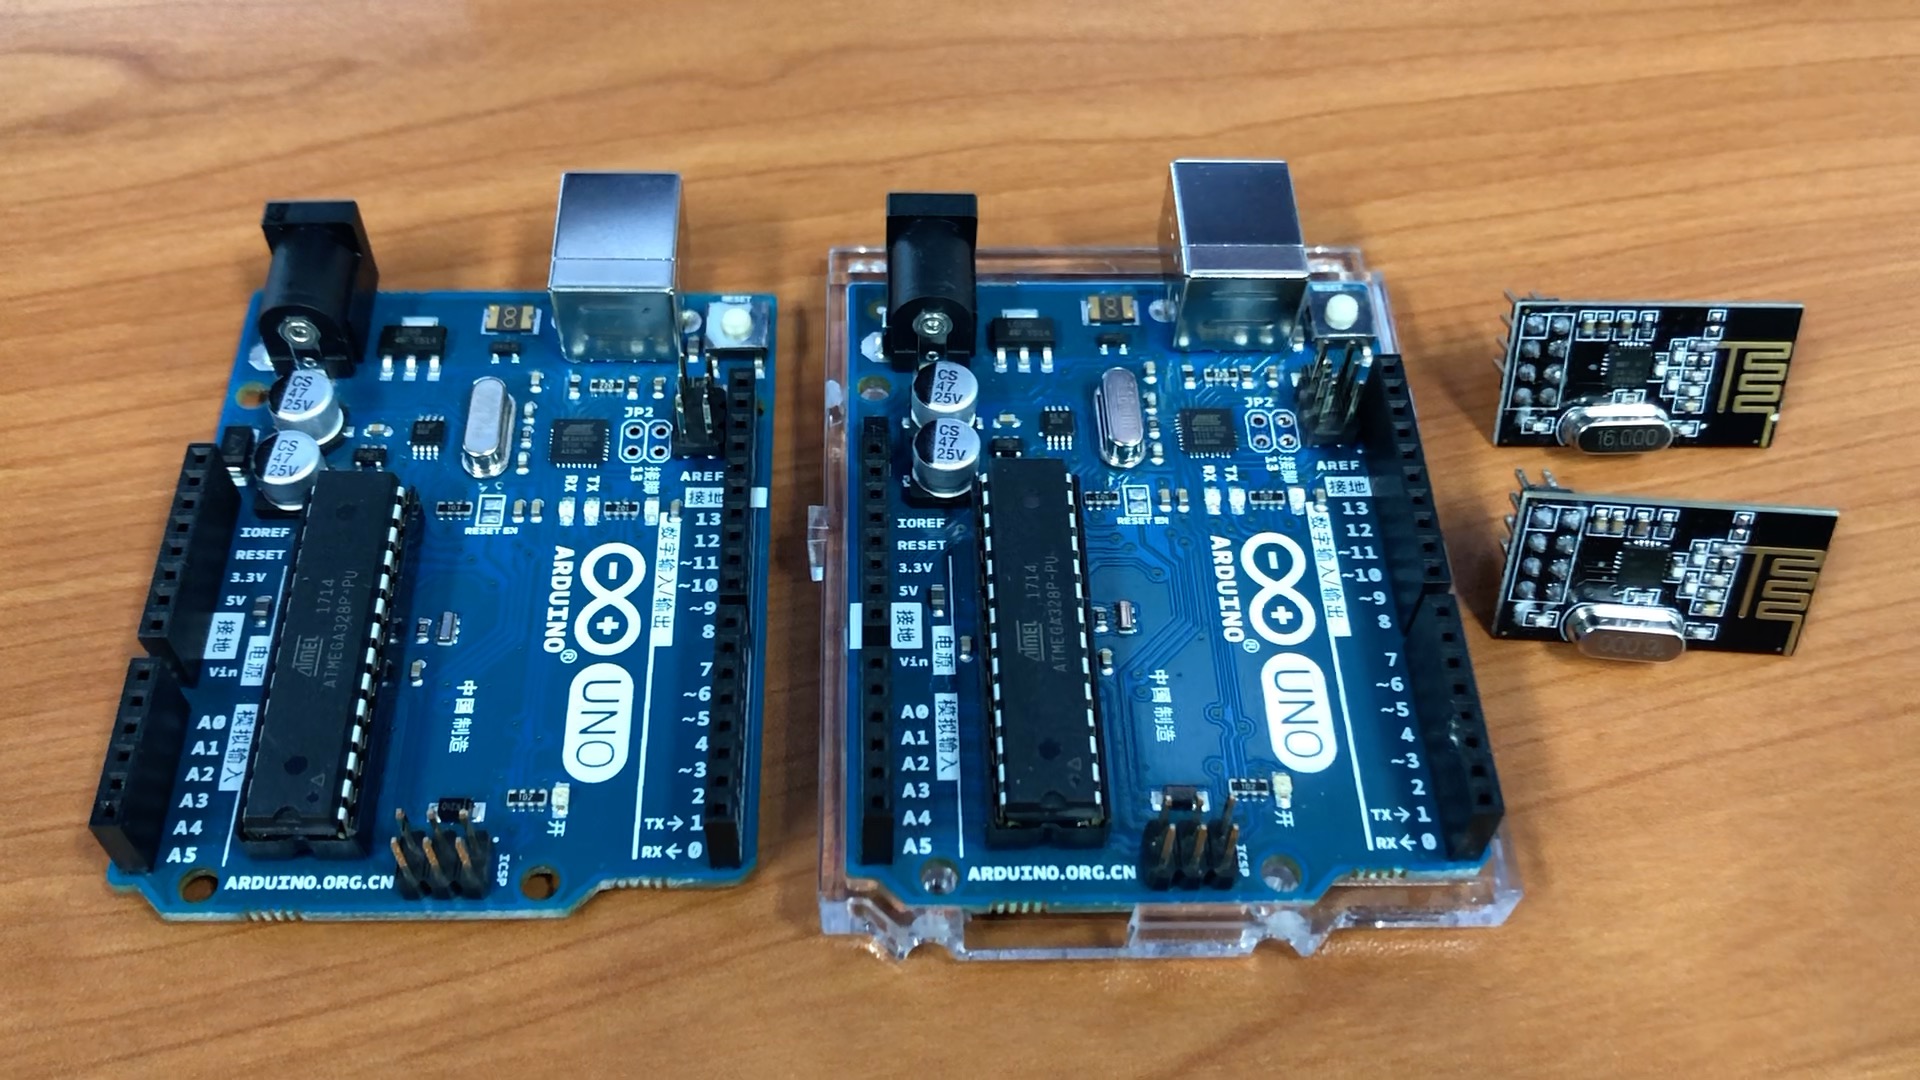
- Arduino 2개
- nRF24L01 Transceiver(송수신기) 모듈 2개
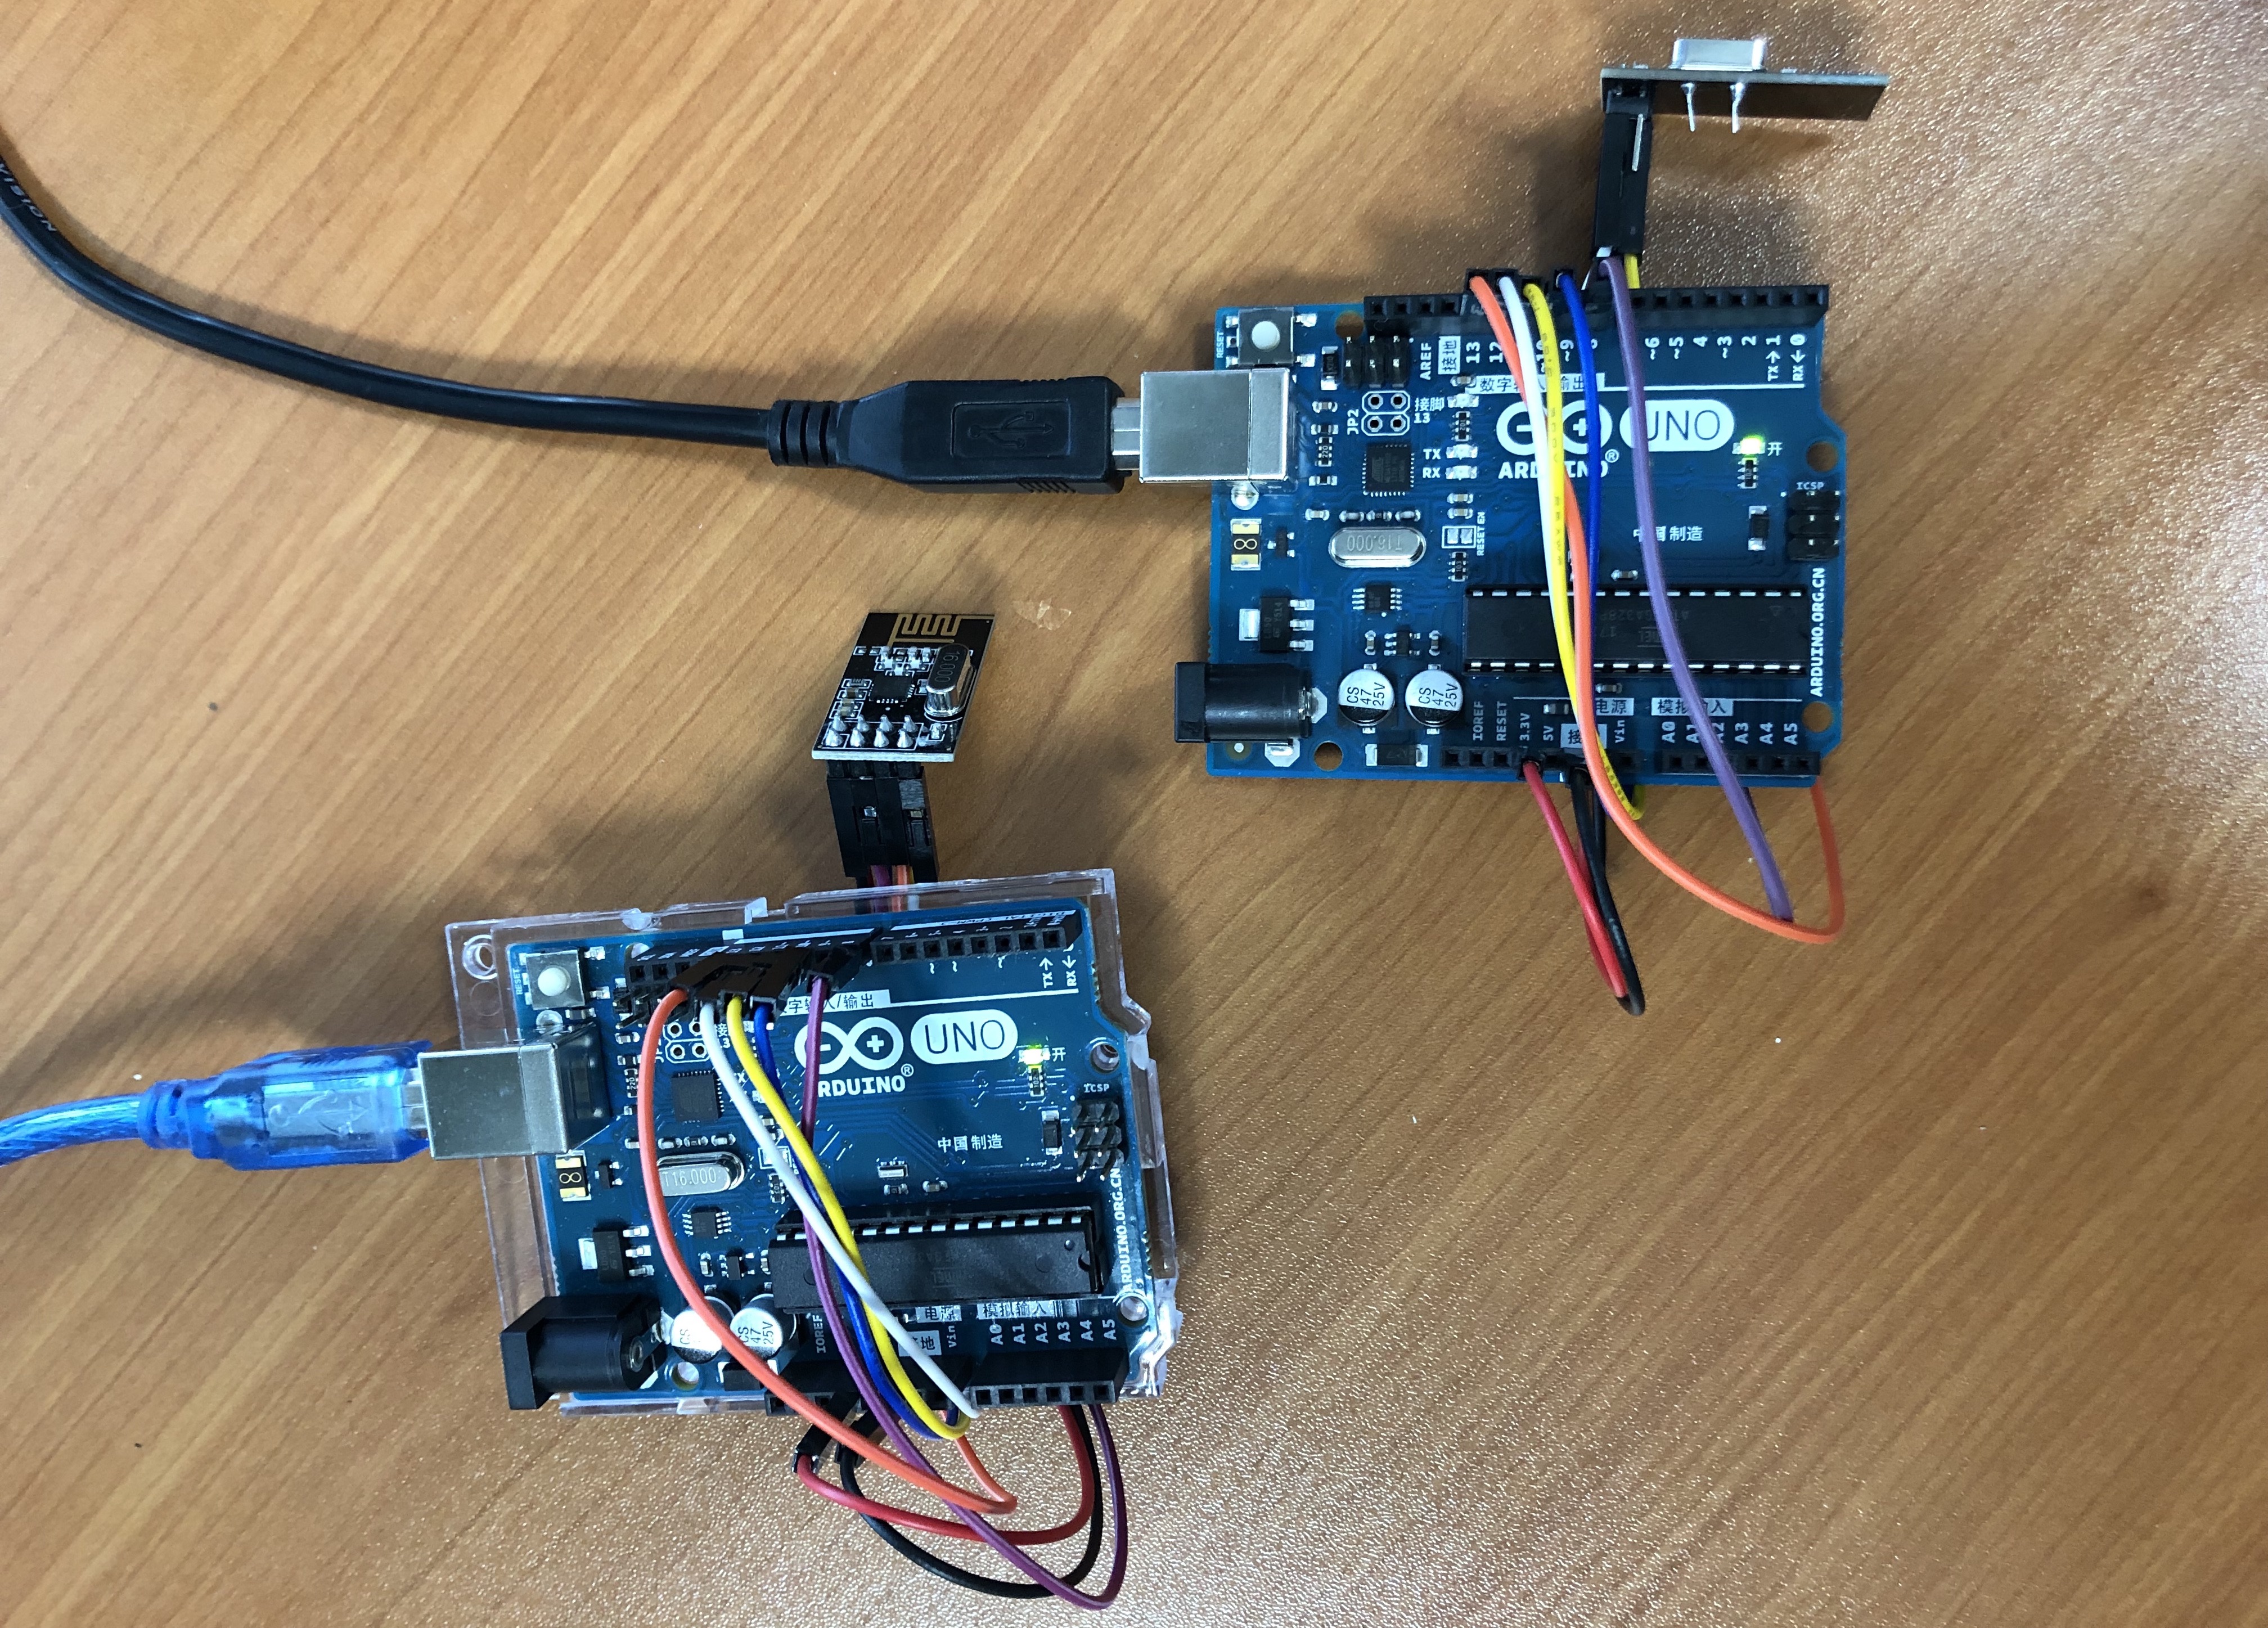
nRF24L01 모듈
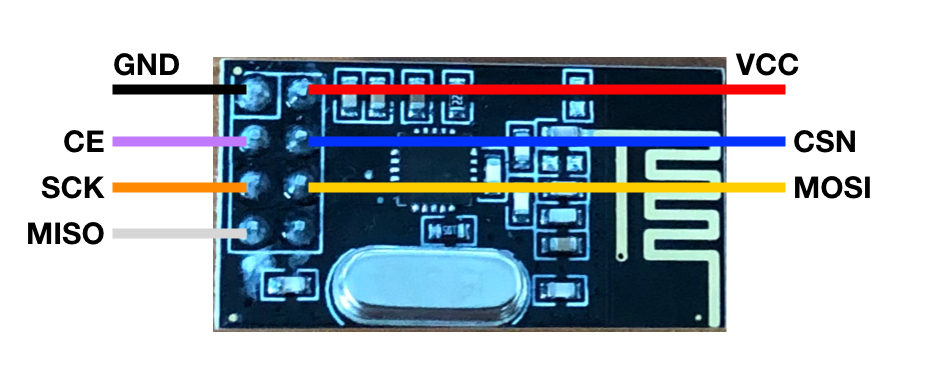
아두이노와 연결하기
| nRF24 | Arduino |
|---|---|
| 1 - GND | GND |
| 2 - VCC | 3.3V |
| 3 - CE | 8 |
| 4 - CSN | 10 |
| 5 - SCK | 13 |
| 6 - MOSI | 11 |
| 7 - MISO | 12 |
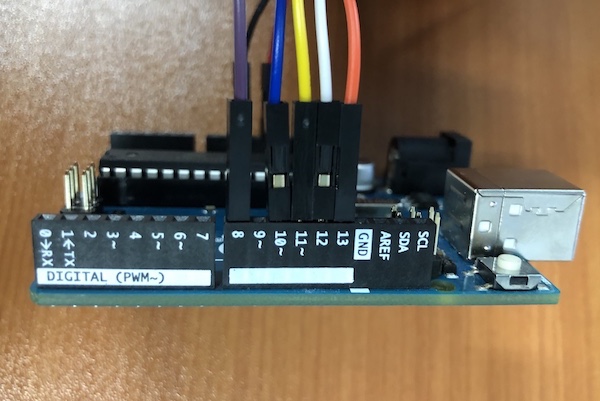
연결 완료
소스코드 업로드
Visual Studio Code에서 PlatformIO Extension이 설치되어 있는 환경에서 진행합니다.
1. PlatformIO INI 설정
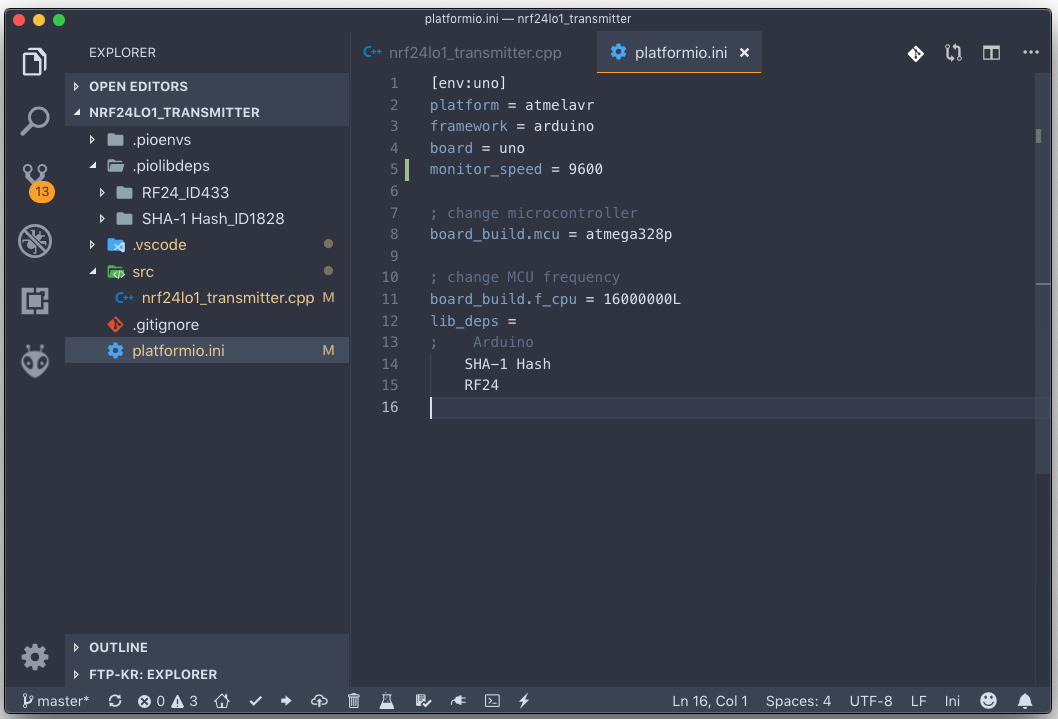 송/수신 아두이노 프로젝트의 platformio.ini 파일을 다음과 같이 수정합니다.
[env:uno]
platform = atmelavr
framework = arduino
board = uno
monitor_speed = 9600

; change microcontroller
board_build.mcu = atmega328p

; change MCU frequency
board_build.f_cpu = 16000000L
lib_deps =
;    Arduino
    SHA-1 Hash
    RF24
2. 송신 아두이노 소스코드
메시지를 보내는 아두이노에 다음 소스코드를 업로드합니다.
#include <SPI.h>
#include <nRF24L01.h>
#include <RF24.h>
RF24 radio(8, 10); // CE, CSN
const byte address[6] = "00001";
void setup() {
  radio.begin();
  radio.openWritingPipe(address);
  radio.setPALevel(RF24_PA_MIN);
  radio.stopListening();
}
void loop() {
  const char text[] = "Hello World";
  radio.write(&text, sizeof(text));
  delay(1000);
}
3. 수신 아두이노 소스코드
메시지를 받는 아두이노에 다음 소스코드를 업로드합니다.
#include <SPI.h>
#include <nRF24L01.h>
#include <RF24.h>
RF24 radio(8, 10); // CE, CSN
const byte address[6] = "00001";
void setup() {
  Serial.begin(9600);
  radio.begin();
  radio.openReadingPipe(0, address);
  radio.setPALevel(RF24_PA_MIN);
  radio.startListening();
}
void loop() {
  if (radio.available()) {
    char text[32] = "";
    radio.read(&text, sizeof(text));
    Serial.println(text);
  }
}
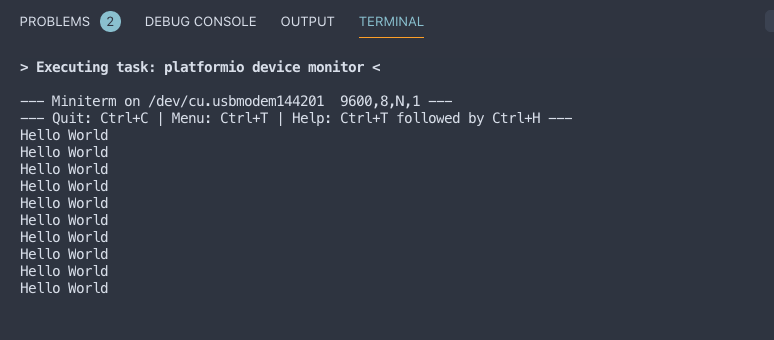
결과 화면
송신 아두이노는 1초마다 “Hello World"를 보내고, 수신 아두이노는 이 메시지를 받아서 시리얼모니터에 출력합니다.